Getting Started with Sublime Text 2
I recently switched to Sublime Text 2 from TextMate. I did not love it at first. As it goes with many of the finer things in life, Sublime is an acquired taste. It was not until I paired with a coworker for a few days that I really started to see its power. I have been using it since and have not looked back.
Here are a few tips that made it easier for me to get into it. Thanks to Anthony Garand for providing feedback and contributing to some of these tips below.
Command palette
Think of the command palette as Alfred for your code editor. Quick access to pretty much anything. Pressing ⌘⇧P will bring up the command palette where you can then scroll through a few of the options available to you: snippets, convert case, sort lines, and toggle various interface options.
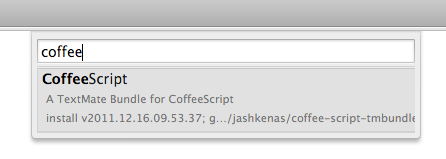
Package Control
If you feel like something is missing from Sublime, then there is probably a plugin for it. The most essential plugin is Package Control, which allows you to install pretty much anything.
To use package control, press ⌘⇧P to bring up the command palette, begin to type “install”, and select “Package Control: Install Package”. This will bring up a new palette to search for packages. Find your packages and hit enter to install it. You can see in the status bar at the bottom that it is installing. Most packages will just work, but occasionally you might have to restart Sublime for the package to work.
Beat the ugly out of it
I cannot figure out a nice way to say this, so I will just say it: out of the box, Sublime is hideous. We are pompous programmers, so we cannot let that stand.
Update: The new default theme is actually much better. I still prefer the light Soda theme, but it’s no longer a necessity.
Start by installing the Soda UI theme via Package Control. This is not a theme in the syntax highlighting sense, but for the UI widgets in Sublime. Note that when plugins talk about the Packages directory in Sublime, on OS X that is in ~/Library/Application Support/Sublime Text 2/Packages.
Ahh, that is better. But the icon is ugly too. There are several replacement options on dribbble. This one is my favorite, although there is still much room for improvement.
The syntax highlighting theme that comes with Sublime is alright, but everyone has their favorite theme. Mine is Made of Code. You can use any TextMate theme by copying it to the Packages directory and going to “Preferences » Color Scheme”.
Ok, now we can stand to look at it.
Opening a project
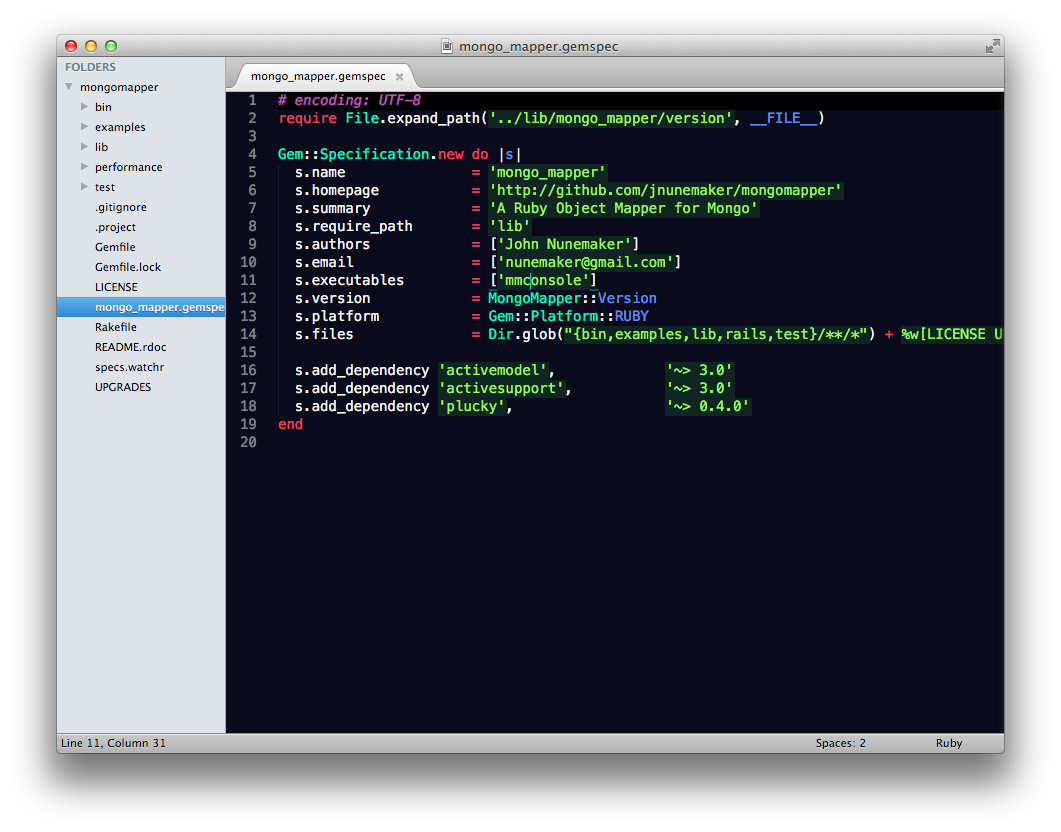
Sublime has support for project files, but I do not use them. I prefer to just open projects from the command line. Sublime comes with a command line interface, but you need to add it to your path.
sudo ln -s "/Applications/Sublime Text 2.app/Contents/SharedSupport/bin/subl" /usr/bin/sublNow you can open a file or directory from the command line.
subl -n ~/blogI almost always edit from the current directory, so I set up a bash alias.
alias e="subl -n ."Ok, now we have Sublime looking pretty and our project open.
Customizing Settings
Sublime is extremely configurable, but the configuration is in a few different JSON files that you have to edit by hand. But once you get familiar with them, they are not that scary.
On OS X, go to “Sublime Text 2 » Preferences”.
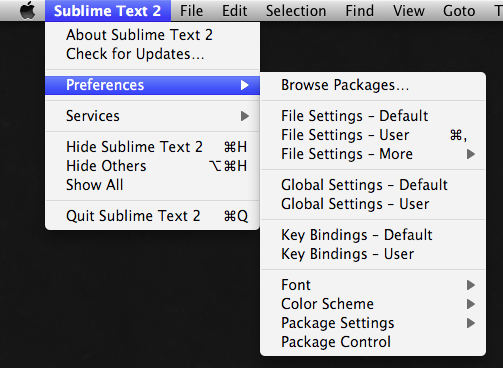
For each type of setting, Sublime has at least two files: defaults and custom user settings. You edit the User versions to specify the things you are overriding.
- File Settings affect the file that you are currently editing. This includes things like your color scheme, fonts…basically, anything related to editing files.
- Global Settings affect how Sublime itself behaves, including the UI theme, files to ignore, and window behavior.
- Key bindings are…well, key bindings. 614 lines of glorious shortcut keys.
Take time to browse through the defaults to see all the levers and dials you can tweak. Check out my settings.
⌘p is the new ⌘t
⌘p (which is also mapped to ⌘t) brings up the Go To File palette. In addition to giving you quick access to your files, it has several features to allow you quickly jump into your files. After typing the file name, use * in the palette to jump directly to a specific method. You can also use ⌘r to bring up the palette prefaced with * to jump to a method in your current file.
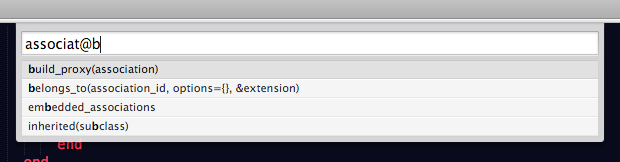
You can also use : (colon) in the palette to go to a specific line number, and ^g will open the paletted prefaced with colon to jump to a line in the current file.
Favorite Plugins
Here is a list of some of my favorite plugins. Most of these should be available to install through Package Control. Check them out and don’t forget to browse around Packgae Control to see what else is available. Here is a complete list of packages available.
One more thing
I highly recommend you go over and read the Sublime article on NetTuts+ for many more tips and tricks to integrate into your workflow as you migrate to this new editor.
I started tweeting tips from “sublimetips":http://twitter.com/sublimetips on Twitter. Tweet your tips mentioning sublimetips and I will likely retweet them.
Happy Coding!
 I am Brandon Keepers, and I work at