The $40 Standup Desk
_Update: I moved to a new house a few years ago and recently renovated my home office, including building a standing desk from pallets. Check out my Home Office 2.1
I spent weeks searching for the ideal standup desk. I shopped around online, visited every furniture store within 10 miles no fewer than 3 times, and almost ordered a Geek Desk. I could not find something that was exactly what I wanted and I could not justify paying $800 or more for a desk that I did not love.
Ultimately, I decided I to do something cheap for now; I built my own. I had been thinking about doing it for a while when my coworker Steve Smith built his desk. After seeing his, I was convinced this was what I wanted to do.
It turns out, the cheap option is pretty awesome.
Parts
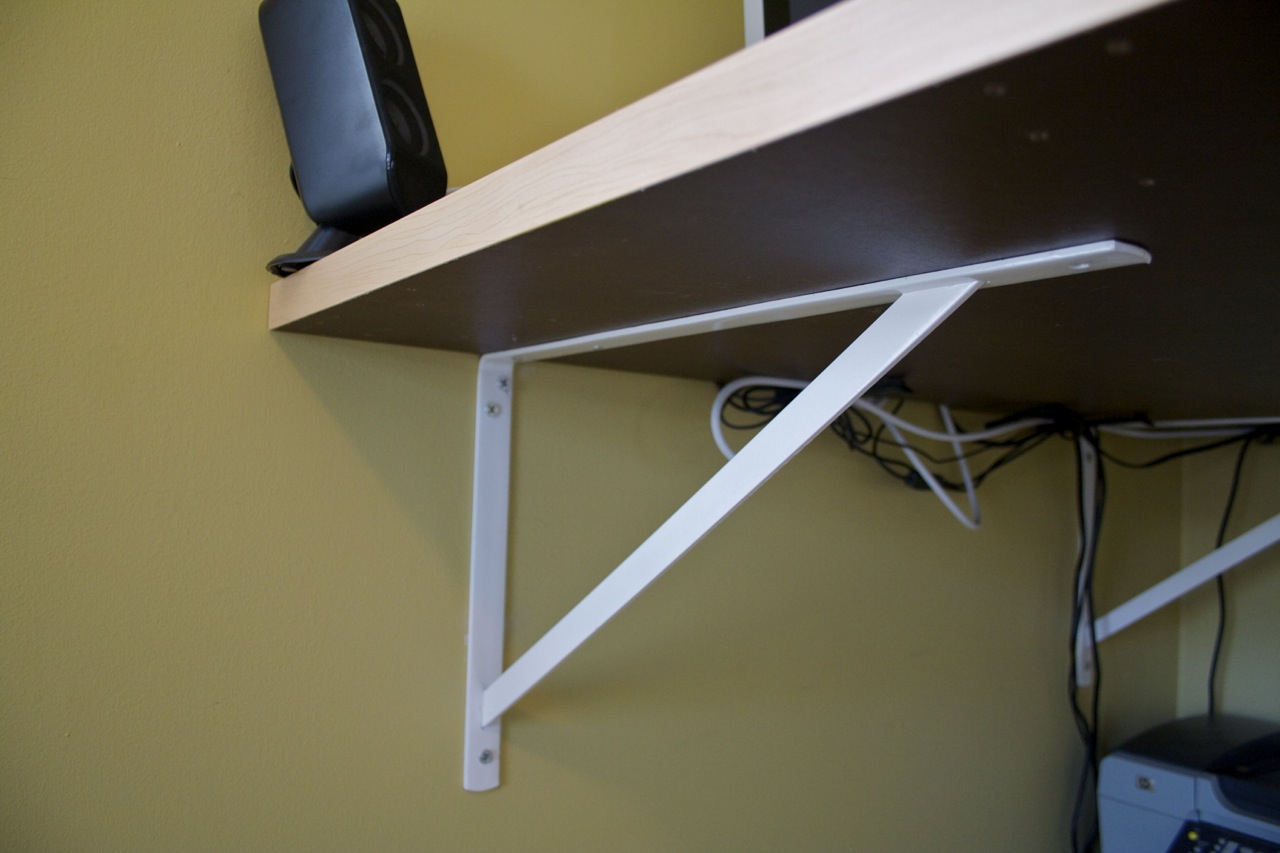
- Heavy-duty 19” shelf brackets - These should cost $8-$10 each at the local hardware store. A set of 2 brackets claims to be able to hold 1000 pounds if properly secured, so it should be more than enough, even for extra-curricular activities (good luck).
- Desktop surface - I found a local furniture outlet that sells assorted desktop surfaces for $3-$4 per foot. I picked up a 4’ desktop for $16.
- Screws - I needed 6 larger screws (about 2 1/2”) to attach the brackets to the wall, and 6 smaller screws (less than the thickness of the desktop) to attach the desktop to the brackets.
Tools
- Drill for creating pilot holes for the screws. If you have powerful drill/screwdriver, you may not need to drill holes.
- Level, because nobody wants a crooked work surface.
- Tape measure to get the height right and measure the distance between the studs.
- A stud finder or old man that knows how to knock on the wall and tell where the studs are. Since this is a desk and will be supporting a lot of weight, the brackets need to be screwed into the studs in the walls. If you do not have a stud finder or an old man, I provide some tips below in guessing where the studs are.
- A Pencil, which is ridiculously hard to find around my house in this day and age.
Installation
Hanging a shelf is taught in Adulthood 101. We are hanging a really big shelf, but it is not much harder than that.
Finding the studs
Finding the studs was my biggest challenge. My house has this crazy cement board instead of typical drywall that is in most houses, so a stud finder does not work. Which means I had to guess. Studs are typically placed 16” apart (or 24” in some houses) on the center, meaning it is 16” from the center of one stud to the center of the other.
Outlets are attached to studs when the house is built. Find an outlet on the wall and on either side of it is likely a stud. The first stud will likely be in one of the corners. Measure from the corner of the wall to the outlet, and the distance between the corner to one side of the outlet should be about 3/4” off of a multiple of 16. If that is not the case, then try measuring from the other corner. If neither of them are, then just try drilling a hole with the smallest drillbit you can find on either side of the outlet to see if you can find the stud. Once you find one stud, it is pretty easy to find the rest.
From there, measure 16” and try drilling another small hole. If you hit another stud, then your studs are 16” apart. If not, then try 24”. I ended up with about 6 tiny holes in my wall just trying to find the studs. They are easily filled and painted over.
Getting the height right
After I found the studs, I was ready to hang the brackets. But first I had to figure out how high to hang them. Which means I had to decide how high I wanted my desk to be. Every standup desk I have ever used felt too low, so I wanted to aim high. My first attempt I aimed too high.
standupdesk.com has some measuring tips. In the end, I found their suggestion of 1” below the elbow to be just right for me. My desk ended up at 45”.
After hanging the brackets on the wall, place your desktop on them and try it out for a day. If this is your first experience with a stand up desk, your first day will probably feel uncomfortable in your legs and lower back. If it is uncomfortable in your shoulders and upper back, then the height is probably not right.
Hanging the desk
I wanted my desk to be at 45”, so I subtracted 1 1/2” for the thickness of my desktop, and another 1 1/2” for the distance from the top edge of the bracket to the first screw hole and I drilled my first pilot hole. I measured over in multiples of 16” to where I wanted the next bracket and marked it with a pencil, then used the level to make sure it is even with the first pilot hole.
I attached the brackets with just one screw and laid my desktop to test the height. I worked at the desk for a day like this to make sure I liked the height. The next day, I drilled the remaining pilot holes and screwed the brackets into the desktop.
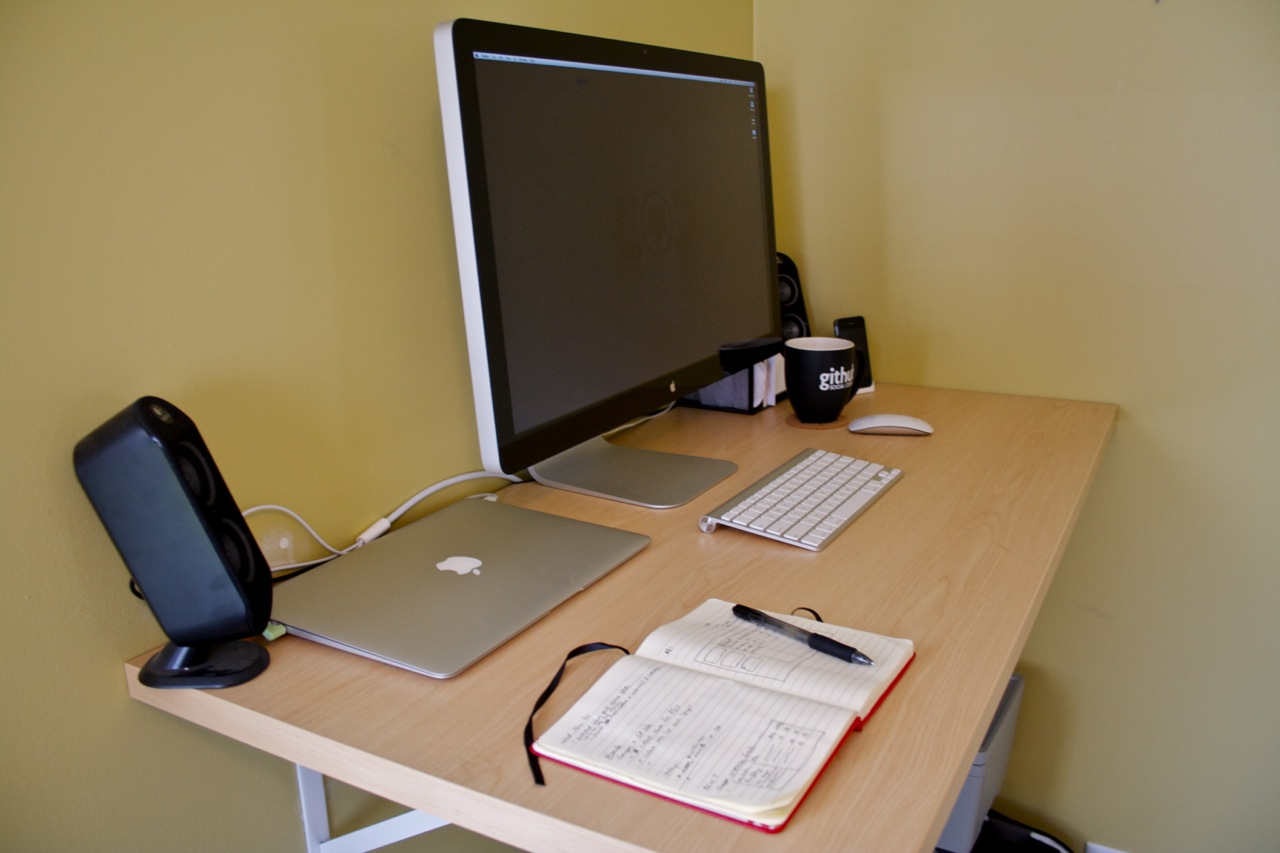
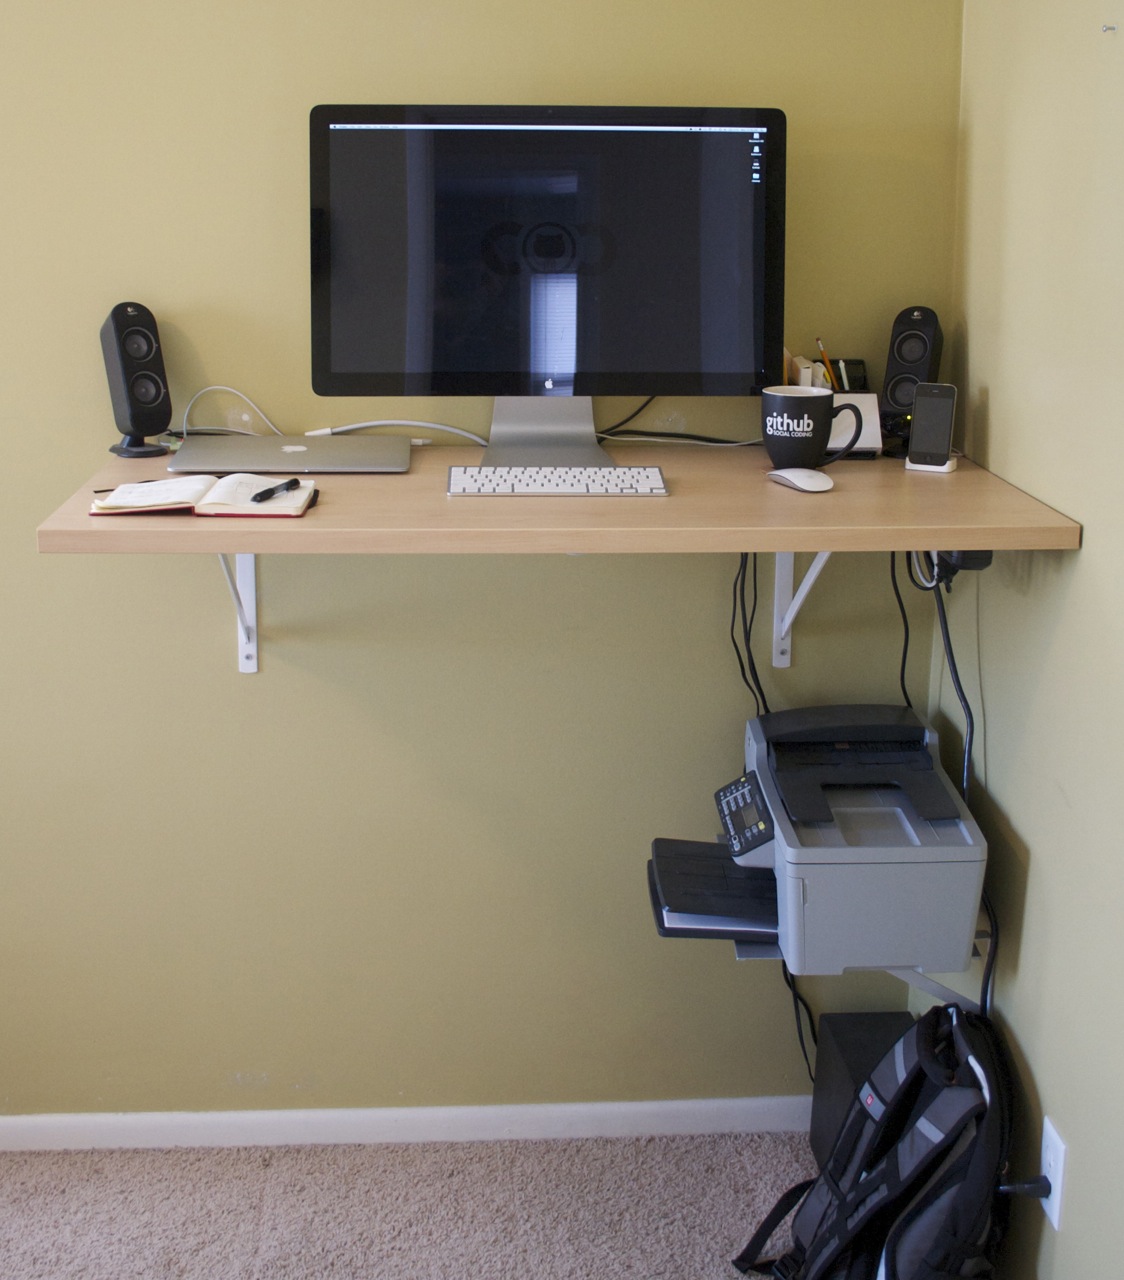
Happy ending
I am thrilled with how the desk turned out. It is extremely stable and takes up considerably less space than my previous desk.
 I am Brandon Keepers, and I work at